Monday, October 29, 2012

Catching Up

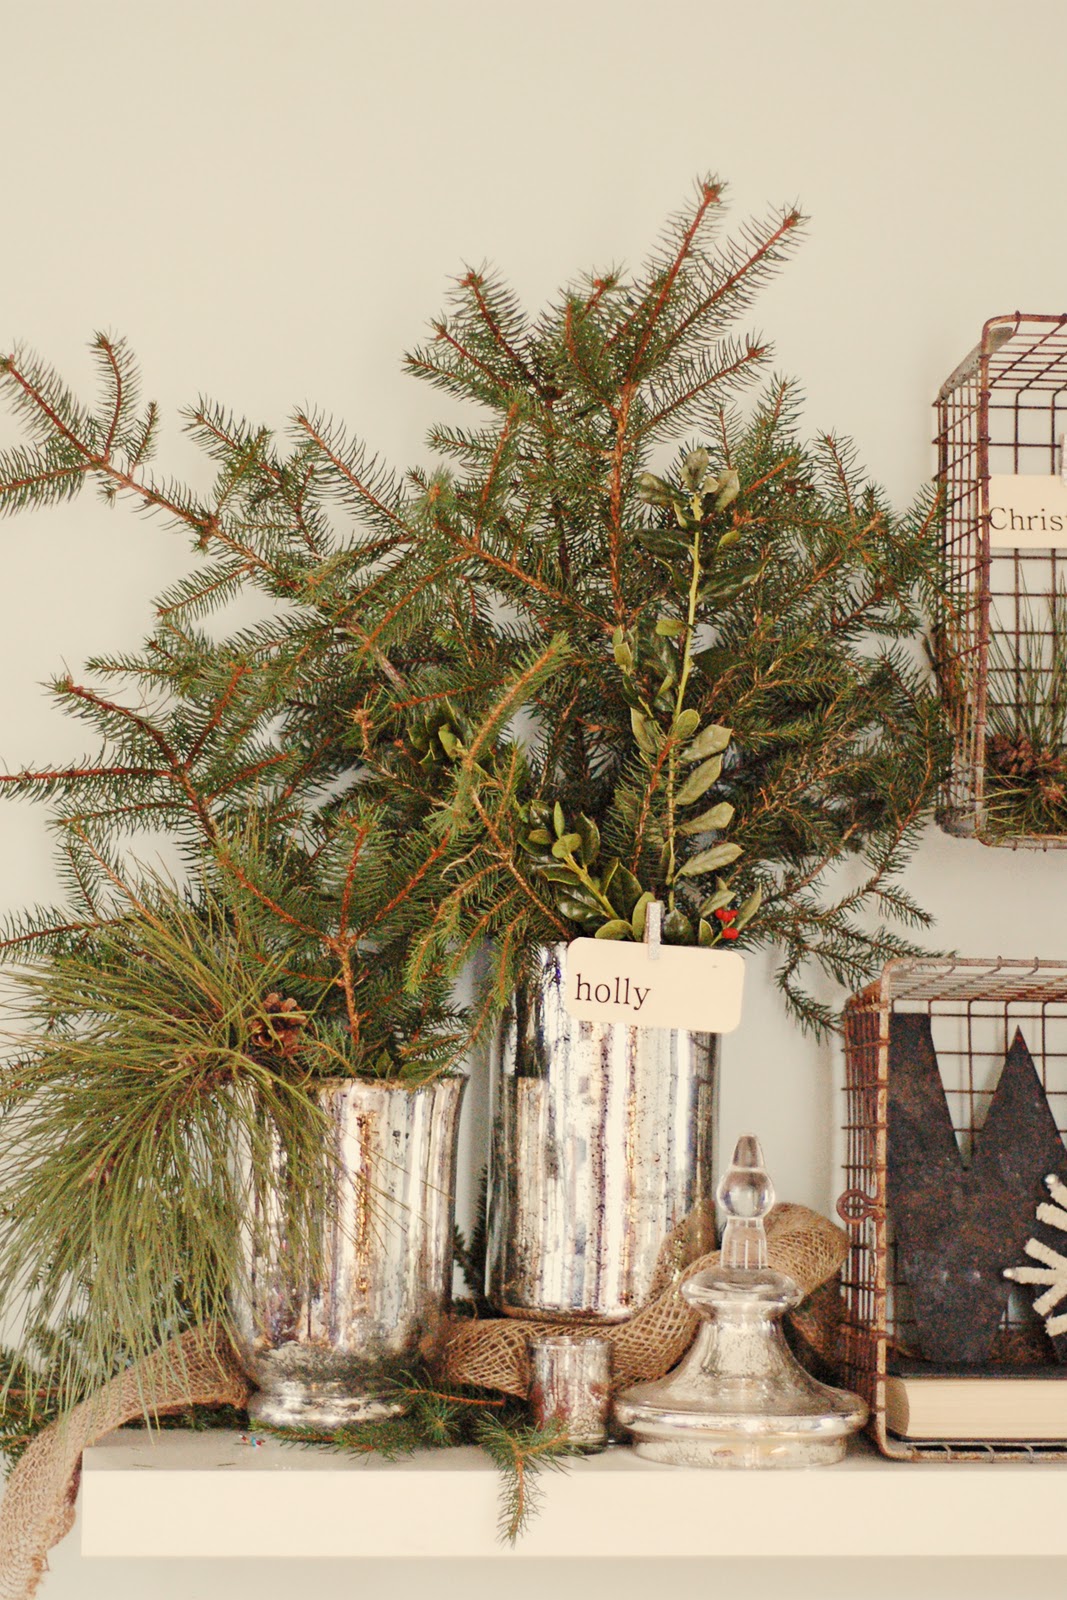
I finally feel like I have a minute to breathe. Just a minute, though, because there are some really exciting things on the horizon! I did take a few pictures of my Festivall Art Fair preparations to share with you, but forgot to take pictures of my full table. That's not surprising.


I made a few little log cabin patchwork pumpkins with no real idea of what they would end up being. I finally framed 2 of them in 8x10 white shadowbox frames. It's been so rainy and dreary around here I couldn't get great pictures, but you get the idea. My BFF ended up buying them on the first day of the fair so I'll get to see them often. ;) 


I saw this pattern on Etsy a long, long time ago, and kept meaning to make them. I finally got around to it and love how they turned out! I did buy the pattern since I used the general idea, but I didn't follow it at all. I have issues following patterns - that seems to be a common theme on most blogs I read, haha! 


I teach at our homeschool group on Friday mornings and it overlapped with the beginning of the fair, so this awesome man I married  finished setting up for me, priced things, and worked until I could get there. Love him. My mom also visited from VA and was so helpful - she took the kids to buy Halloween costumes since their slacker mom hadn't yet. ;) 


I've posted before about my experiences with Festivall, which I absolutely love. This was the first Festivall Fall Art Fair, and it was quite slow. No advertising budget + horrible weather is a bad combination for an outdoor fair. There were very few shoppers Friday and a little more Saturday, but it was still a good time, mostly thanks to my amazing neighbors. Two lovely ladies from The Hermitage Monastery were so kind and fun to talk to - we chatted about knitting and had an amazing swap! Their soaps and lip balms are made using milk from the monk's goats and wax from their bees. Incredible. 


I made several new items this time - some of Jeni's drawstring bags (buy the pattern here - it's so great), some clutches, and a few camera straps. It was really nice for a change of pace - I get SO tired of sewing wristlets, even though they are my best sellers. 


I bought some Anna Maria Horner Loulouthi Flannel last year with plans to make a quick throw backed with voile. My idea was to do a large hand-tied patchwork throw with wool batting. I don't know about you, but I have a seriously hard time sticking with my original plans. I chatted on Instagram with Erin from Pellon (who is super sweet!) and she offered to send me some batting. That puffy cloud under the flannel is a wonderful wool batting that I'm so excited to try. It is much lighter than I expected, and I'm anxious to see how it quilts. (Since - of course - my hand-tied throw has turned into a hand-quilted-with-perle-cotton quilt. I roll my eyes at myself often.) 


I took a curved piecing class from Christina at Sewing Summit and that gave me the confidence to try curves on a bigger scale. I sketched this pattern and then drew it on freezer paper - and I even remembered to add seam allowances! I had to order a few additional yards of flannel, but I went ahead and started with what I have. It is so much easier to sew curves on a larger scale. I was a little concerned about using the flannel since it's so puffy and distorts easily, but it really was a breeze. 


I have to share this picture with you - it is so ridiculous. My husband and a group of his friends ran a Tough Mudder race last weekend. It was insane, and freezing, and included swimming through dumpsters of ice. So they've already signed up for another. Obviously. 


I'll be back this week with my Sewing Summit recap - or part 1 of it, anyway! See you then! 

** Could I ask you to please pray for my MIL? She's in the hospital with an issue that the doctors can't quite figure out. Thank you! ** 

Wednesday, October 17, 2012

Oh, Weekender.

((A little preface - I don't post often, but when I do, my motto is Go Big or Go Home. This is an overwhelming amount of info for one bag, but I wanted to record it for posterity's sake. I highlighted things that did or did not work well for me in hopes that it might make your Weekending a little easier.))

I think I am in good company when I say I'm not quite sure what to think about this bag. The infamous Amy Butler Weekender Bag. What an exhausting but incredibly rewarding project. I haven't sewn many things I've been prouder of than this bag, and now that I have a bit of amnesia, I absolutely love it.


To be honest, I wasn't originally planning on making a Weekender. But as Sewing Summit drew near, I kept seeing incredible versions popping up left and right, and I didn't have a zippered bag for traveling. I am so not immune to peer pressure. I caved. Ordered the pattern from Pink Chalk Fabrics. Played with fabric. And then packed everything up and took it to the beach. It turns out I'm not so productive at the beach. I got the stars and front pocket panel finished there, ate a ton, played with my babies, and snuggled my new niece. 


Once I got home I kicked it into high gear. I decided not to use interfacing, instead using duck cloth as a base (Like Elizabeth at Oh,Fransson.) I finished all the panels using improv piecing, then quilted them onto duck cloth with batting in the middle - it was like the most miserable, stiff, unsnuggly little quilt in the world. I made the improv piecing a little larger than the pattern piece to account for shifting during quilting. After quilting I cut out the pattern pieces. I suggest you serge or zig-zag around your individual pieces if you're using canvas or duck cloth. As you can see in the pictures below, it frayed like crazy, therefore driving ME crazy. 

I tried the Heat-n-Bond piping method, but it was slow going and I made much faster progress using my zipper foot. One of my favorite new tricks is making 5+ yards of bias tape using a fat quarter. (This tutorial is great.) I didn't have to waste a ton of fabric to get a perfectly coordinated piping. I also used UHandbag's inset zipper pocket tutorial for a fabulous little zippered pocket! I felt fancy.


The top zipper panels are designed ingeniously and went together without a hitch. The pattern calls for a 30" zip, but I used a 24" metal zipper that I got from JoAnn's for about $4 and it worked perfectly. There is a section where you machine-baste for the zipper opening, and I just made that shorter to account for losing 6" of zipper length. Honestly, I would hesitate to use a longer zip because I think it would go down into the side pockets and that would be a pain to dig around in just to unzip your bag. Anyone have thoughts on that? 


As you can see above, I used small binder clips to hold the layers together, which worked well, and I used my walking foot for attaching all the panels together. The first side panel attached without any problems, but I'm not joking when I say I almost threw a full-blown temper tantrum while attaching the other side. It was UGLY. And heavy. My husband very helpfully held the bag up while I slowly sewed the second panel on. I suggest wine, chocolate, a sedative, and maybe a some band-aids for that part. And don't forget to put your deodorant on prior to sewing this bag - it is a full body workout. 


I interfaced the lining using a medium-weight interfacing (not the feather-weight, the next step up) and I'm so happy I took the time to do that. I imagine that it would be quite flimsy without it, and I'm not sure it would be strong enough to bear the weight of any additional pockets. I also put a little 3-slot pocket across from the zippered pocket for my wristlet, pen, & phoneI hand-stitched the lining in (using the same stitch as when binding a quilt) according to the pattern instructions, but I did turn the bag inside out while stitching to avoid having twist the bag to see the lining. It was much easier, and only took about 45 minutes. 


Due to time constraints (and sheer laziness) I didn't put a pocket panel on the back of the bag. The front pocket is so loud I figured I could get away with it. I love the stars - I was chatting with my friend Amanda on Instagram one day and she said she was using the Sparkling Cider pattern and that inspired me. Now it's time for her to finish her bag! I got to see the pieces at Sewing Summit and it is so gorgeous. 


I really surprised myself by remembering to attach a label on one of the side pockets. I really recommend doing this - it adds such great personalization and I forget to do it on so many of my projects. Amber said she cut the straps to 5" rather than the 3" suggested in the pattern, so I followed suit and it is the perfect width. I interfaced them using the same medium-weight interfacing as I used on the lining. (The handles and star centers are a gorgeous gray cotton linen from Drygoods Design.)


I attached purse feet to the bottom of the bag, and they are pretty pointless. I installed them too far out, and only used 4, so the middle of the bag hits the ground. I would suggest moving them in a little further than you think is good, and buying an extra set so you're able to put 2 more feet in the center. They are only around $1 for a package so it's worth it. As for the removable bottom, I used 3 layers of fusible Peltex and it worked great. 


I think? those are all the notes I jotted down during the sewing process, but feel free to leave your tips/complaints/battle scars in the comments so this can be a great resource! 


Below is a picture of my sad self at the Salt Lake City airport on the way home from Sewing Summit. I'm still trying to process that trip, honestly. I don't think I've ever been at a point in my life where I needed it more that I do right now. I am working finding some puny little sentences that will try to describe the experience, and I'm positive I don't have them. But I'll try anyway. 


Wednesday, December 14, 2011

- spreading christmas cheer (brace yourselves) -


The looong shelf (over 6'!) in our entry way is my favorite spot to decorate seasonally. It's on a big blank wall so I have a lot of freedom as far as what I use. We just patched up all the tiny nail holes from the last few years so I had a fresh, clean canvas. I took lots of photos this year so I could share wtih you! :) 


Whenever I redecorate the shelf, I have to take EVERYTHING down and start with a completely blank slate. Then I spread everything I could possibly use around the living room and "shop." It's such a disastrous process, and I know it makes my neat, orderly husband nearly have a panic attack. Especially since this one involved lots of fresh pine. (Which he & the kids were so kind to collect for me.) 


My aunt bought me these old metal locker baskets a few years ago for my birthday, and I've always wanted to hang them on the wall, so I finally went for it. I LOVE them. And of course I had to incorporate our "W" and "5." 


My vintage flashcards made a reappearance - I can't resist anything with a good serif type on it, especially when it's printed on cardstock. 


My grandma, Delaney, and I made this wreath out of old book pages. I had intended to continue the scalloped circles around the outside of the wreath, but holy cow, it was taking forever. It could be a little fuller but we're going to go with it for now. My mom surprised me with this awesome bottlebrush tree - it's dark, dark brown with silver tips - from Home Goods. 


I know some of the photos are a bit blurry - the large window that is across from the shelf is partially covered by the Christmas tree (which I realize now that I didn't get any pictures of!) and my fixed lens (50mm) makes it hard to get the whole shelf in one frame. 


Several years ago for my birthday (5?) my mom added to my mercury glass collection with 5-6 large pieces from Pottery Barn. They are absolute staples in my decorating and I still love them! Finn has done a job on my pillar candlesticks, though - I think he's broken 3?


I covered these little styrofoam balls with yarn last year and I still love the colors. The cream yarn is actually from my first try at spinning with a drop spindle. I had little left and it was perfect for this. 


I just realized how fun it is to sit and remember where my favorite Christmas decorations came from and the stories surrounding them. I got this little Charlie Brown tree (which weighs a ton!) from a local store called Cornucopia a couple years ago. My friend Stacy & I went shopping the day after Christmas and I asked if they'd sell me the tree, which was used as a display. I hang all my vintage ornaments on it, which were all bought at the antique shop where my aunt works. The santa (who is close to 4' tall!) was a gift from my Mom, who remembered me admiring it in a store. She's so good to me. 


I printed out this amazing free print from Emily at Jones Design Co. and it will definitely become a fixture at Christmas. 


My favorite Christmas decor book by Country Living. 


LOVE this little old jar that my mom gave me a couple years ago. (Are you noticing a theme? All the cool stuff comes from Mom.)


These frosty, sparkly trees came from Bath & Body Works 6-7 years ago - I bought them after Christmas for something crazy like $15?? They were displays in their store. 


This mossy snowflake was picked up last year after Christmas at TJMaxx, if I remember correctly for $5-6. You can see in the close-up that it's a base of grapevine covered in moss with a bit of glitter. Everything's better with a little glitter. 


Target had some of the cutest Christmas pillows this year. I bought some wool suiting from Joann Fabrics and made the pillow behind them - it's a chocolate/cream/red speckled heathery wool. LOVE it. 


The only new things purchased this year were the pillows. Everything else was "shopped" from my house and garage and collected over quite a few years. And a lot of things aren't even specific Christmas decorations. I really try to collect base pieces (baskets, mercury glass, containers, cake stands) that can perform at any time of year. It's so much fun to see how you can turn things into holiday decorations and spend as little as possible. A little creativity and a few estate sales go a long way. Well, and a generous Mom. ;) 

Friday, October 28, 2011

- september -


September was a particularly fun month this year. Over Labor Day weekend we traveled (with my mom, stepdad, stepsister & her husband) to this GORGEOUS place. Honestly, it was breathtaking. I'd never been to that area of Virginia before and I'm ready to pack up and move! We built fires, ate s'mores, paddled kayaks, had canoe races, cooked some amazing food, crafted, and so enjoyed each other's company. 


My boys building a fire on the first night we were there. 


We made these Finnish stars out of fabric - they were so much fun and surprisingly easy! You should definitely try them - my friend Stacy even made some with her kids using scrapbook paper. 


A beautiful old barn that we passed on the way back. 150+ acres for sale with amazingly restored barns/home for the bargain price of $2.5 million. We considered calling about it. ;) 


The Capitol Market is one of our favorite places in town, and it's breathtaking in the fall. So when Josh & I celebrated our 10 (!!!) year wedding anniversary September 8, we decided to go there and walk around before our dinner date. Isn't that everyone's idea of a perfect night out?! We are HIP. 


We bought about 55 lbs of apples and did all kinds of fun stuff with them....I'll talk about that in the next post. 


A river goes right through the middle of our town, and the IL's have a boat, so we took advantage of one last summer day and went fishing. The kids had a blast and I got totally (TOTALLY) freaked out by all the fish jumping out of the water inches from me. I discovered I'm more of a "fish from the boat" kind of girl than a "fish IN the water" kind of girl.


I started reading Omnivore's Dilemma while we were in Virginia, and I still haven't finished it. NOT light reading. Fantastic, life-changing, but most definitely not light. One of the highlights of our trip was visiting Joel Salatin's Polyface Farm, which is featured in this book. I feel like I should put this sentence in sparkly neon writing - that is how I feel about that man and his contributions to our modern food (counter)culture. Josh, as I was getting out of the car when we arrived at the farm: "If you see him, do NOT run up to him, squeal, or scream. He's a farmer, not a rock star." And obviously I had to buy this t-shirt. (This is a great video interview series if you're interested.)


It seems like the second the leaves start turning the knitting needles call my name. I bought this yarn when we were on vacation 4 years ago and it's finally becoming a pair of socks. I'm making my first ever pair of toe-up socks and have fallen in LOVE. Almost finished with the second one! 

(((My apologies for the picture-heavy, scattered post - since I'm not here often I thought I'd give you a little more bang for your buck, haha!)))